DemoCreator User Guide
How to use Wondershare DemoCreator? Learn the step by step guide below
DemoCreator User Guide
-
Drawing Tools
-
Install & Uninstall Extension
-
Record Browser Tab
-
Get Started
-
Video Recorder
-
Video Presentation
-
Video Editing
- Import Media
- Basic Video Editing
- PIP (Picture in Picture) Mode
- Transition Effects
- Annotation
- Caption (New Auto-Caption)
- Stickers
- Filters
- AI Text-to-Speech
- AI Object Remover
- AI Vocal Remover
- AI Voice Changer
- AI Beauty Filter
- DemoCreator Templates
- Brand Kits
- Thumbnail Maker
- AI Text-Based Editing
- AI Clips Generator
-
Audio Edit
-
DemoCreator Effects
-
Export & Share
-
Keyboard Shortcuts - Windows
DemoAir User Guide
-
DemoCreator Cloud Service - Get Started
-
Video Creation Mode
-
Export&Share
FAQs
Export & Share
1. Export Video
To export your video to your computer, click the "Export" button in the top right corner.
Also, you can change the video format and other video settings (Encoder, Resolution, Frame Rate, BitRate). You can rename the video and change the location on your computer where you save it. Currently, DemoCreator supports the following output formats: MP4, AVI, WMV, MOV, MKV, FLV, TS, WEBM, MP3, M4A, and GIF.

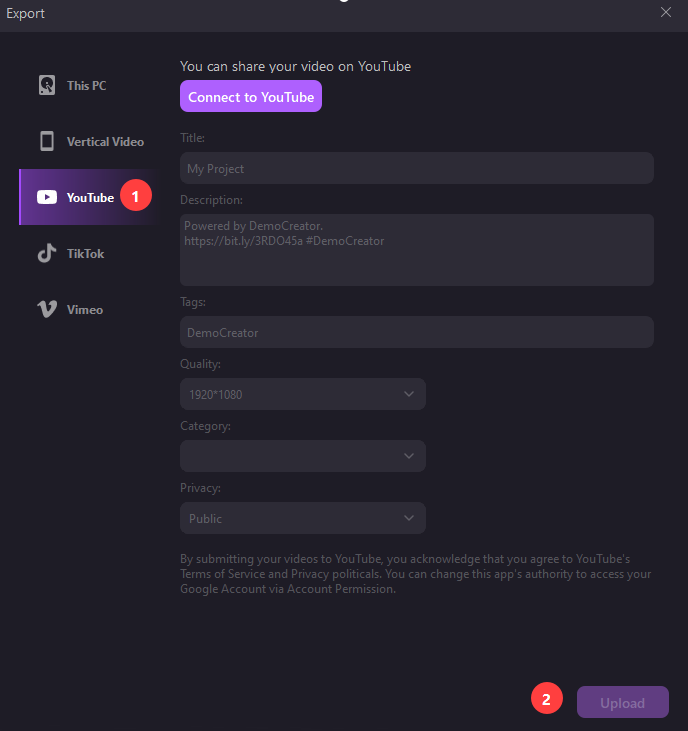
2. Share Video
Share Video to YouTube
To share a finished video directly to YouTube, click export and then select YouTube. You need to sign in with your YouTube account first. Then input the title, description, and tags for the video and choose whether to upload the video as public, unlisted, or private.
Share to Vimeo
To share a finished video directly to Vimeo, click export and then select "Vimeo". You need to sign in with your Vimeo account first.

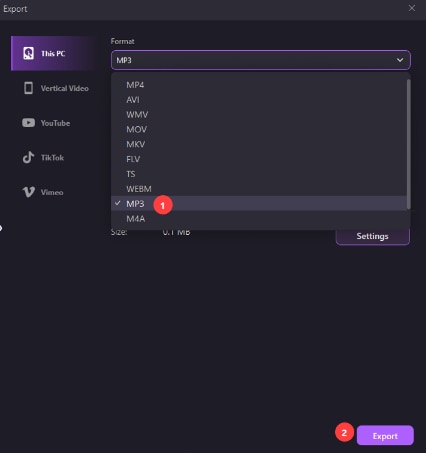
3. Export Audio
Click the "Export" button in the Editor panel. In the export window, select the format as MP3.
4. Batch Export by Video Segments
With the new Batch Export feature, you can now easily split a long video into multiple shorter clips based on timeline markers, and export them all at once to your local device.
Step 1: Add Segment Markers
On the timeline, place markers at the points where you want to split the video. Each marker represents the start of a new segment.

Step 2: Batch Export
Once your markers are set, click the Batch Export option.
After clicking, you'll be taken to a settings panel where you can configure video parameters and other export details.
Once everything is set, the software will automatically divide the video into segments based on your markers and export each one as a separate video file to your local storage.